Caulking a toilet is something many people do to seal the space between their toilet’s base and their bathroom floor. Doing so can keep the toilet from rocking as well as keep any unwanted odors under the toilet.
It is a fairly easy project that many home-improvers will likely perform at some point when working on their bathrooms. However, the job requires some preparation before it can be done.
In this post, you will find out how to caulk your toilet step-by-step, learn about some common mistakes to avoid, and find a few answers to some frequently asked questions. Before we begin, let’s start with whether it is a good idea to caulk your toilet in the first place.
Is It a Good Idea to Caulk Your Toilet?
Caulking is a hot-button topic that plumbers and DIYers will debate over. There are solid arguments for both sides, and both home inspectors and plumbers will take one side or the other based mostly on either past experiences or their own personal bias.
Why You Should Not Caulk Around Your Toilet
Those who say caulking is a bad idea believe that the job creates another barrier to work through besides the wax seal and bolts. It is just more work than it’s worth and could even damage your bathroom floor tiles if it is removed incorrectly.
The main gripe against caulking is probably that it can hide leaks as well. Bad leaks will usually be visible because the water seeps out of the bottom of the toilet. Caulking around the entire toilet will trap that water underneath the toilet and could make matters much worse before the leak is noticed.
Why You Should Caulk Around Your Toilet
Those who support caulking typically say the problem regarding noticing leaks can easily be subverted by not caulking completely around the back of the toilet just in case. Plus, it prevents water from getting under the toilet that could damage the pipes or the wax seal underneath.
Also, for those that find their toilet is beginning to rock from side to side, caulking is almost necessary to stop it. A wobbly toilet is something that needs to be fixed immediately, and caulking is one of the easiest ways to do it.
How to Properly Caulk a Toilet
Step 1: Get Rid of Any Old Caulk
If there is already an older caulk seal around your toilet’s base, you will have to scrape off that caulk first. You can utilize a simple razor knife to get under the caulk. From there, it typically can be pulled up in one strip.
There are also fairly cheap caulk removal tools available at most hardware stores that work perfectly for the job.
Step 2: Clean Around the Toilet’s Base
Clean up rust, dirt, paint chips, and any other debris from around the toilet’s base before applying any caulk. You can use any general bathroom cleaner and an old towel to clean around it. How tight the seal is will depend on how clean the floor was before applying the caulk.
Step 3: Put Masking Tape Around the Toilet
The tape will help guide you when squeezing the caulk around your toilet. It also will make sure that no excess caulk gets on the bathroom floor, but instead, it will just get on the tape, which will eventually get thrown away once the job is finished.
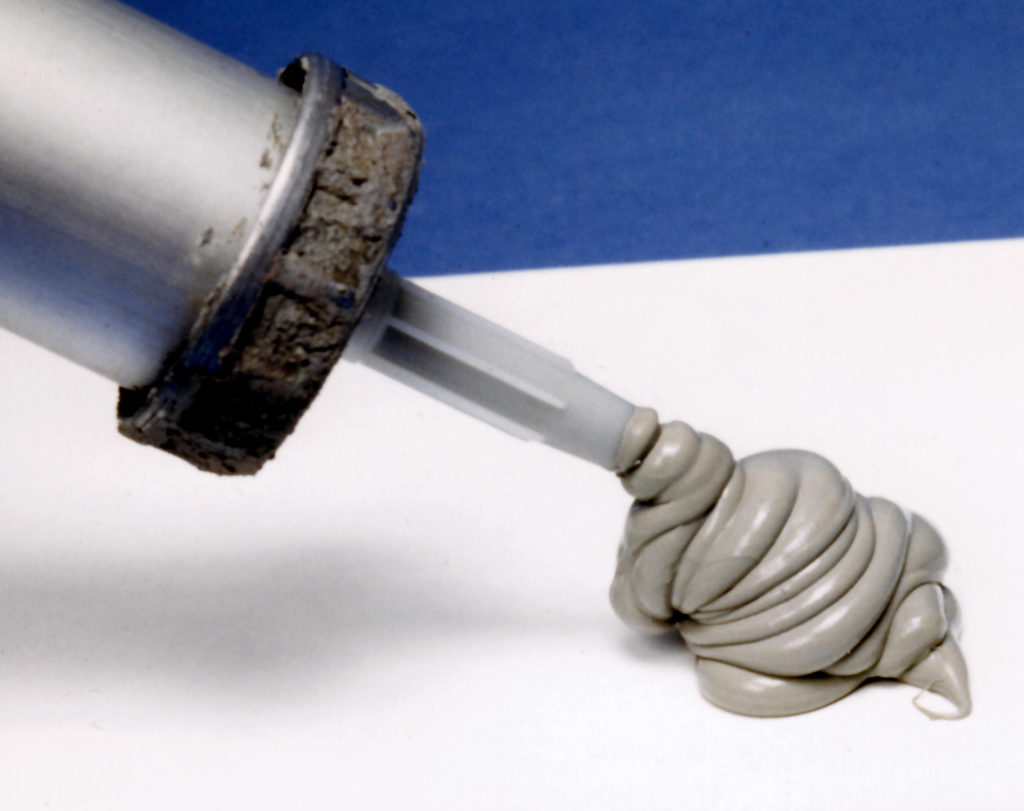
Step 4: Start Caulking
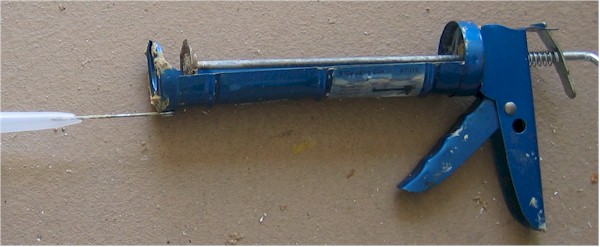
Slowly and steadily squeeze out the caulk along the space between the floor and the base of your toilet. Try to be as consistent as possible with how much caulk is in one spot. If you have a caulk gun for this job, it will help a ton.
Caulk all the way around the toilet or (if you are worried about leaks) leave a small spot uncaulked somewhere behind the toilet that is unlikely to get any water trapped under it.
Step 5: Get Rid of Excess Caulk
Use your fingers to run over the caulk one last time so that it is completely in the space between the toilet’s base and the floor. The caulk on your fingers is part of the excess and should be wiped off with an old towel or rag.
If you are a bit squeamish about using your bare hands, find a pair of disposable gloves and do the same thing.
Step 6: Clean and Let the Caulk Cure
Slowly peel off the masking tape from before and make sure whatever caulk is on it does not spill onto the floor around you. Throw away the tape with whatever excess caulk is left on it.
Use a sponge or wet rag to clean up any debris from the job around the caulking area so that it does not dry to your floor and become much harder to clean up. There is no need to use any floor cleaners or soap since the water will easily absorb any debris.
Lastly, check the instructions on the caulk’s container to see how long it needs to cure and let it sit. Most regular caulk will take around a day to fully cure, but there are some “fast-curing” caulks available as well that take much less time.
Common Mistakes
Caulking around a toilet is an easy task, but it requires a lot of attention to detail and can either look poor or damage your floors if done wrong. Here are a few things to keep in mind when caulking:
1. Can I Caulk to Hide Leaks?
Caulking will not fix a leak underneath your toilet. In fact, it will make it much worse. The water will get trapped underneath and cause all kinds of damage that can make for some very expensive repairs.
2. Cut the Caulk Tube Open Correctly
The tips on the tubes of caulk are not pre-opened so that the user can cut them to match the gap between their toilet’s base and the floor. You should measure this gap beforehand to make sure you cut the tip wide enough to successfully caulk your toilet.
Cut the tip of the tube a little narrower than the toilet’s gap between the floor and adjust your squeezing strength when necessary to get the right amount of caulk around the toilet’s gap.
3. Do Not Try to Speed Up the Curing Process
If you do not have the money for a fast-curing caulk, then do not try to heat the caulk up to force it to dry quicker. Many people make the mistake of using a blow dryer or space heater to speed up the curing, but this typically has the opposite effect.
The heat from a blow dryer or space heater is too high and will cause the caulk to actually cure slower. Caulk requires air to dry out, and there really is no way to speed up the curing process without altering the chemical composition of the caulk itself.
Frequently Asked Questions
Is It Required by Law to Caulk Around a Toilet?
Surprisingly, yes, two plumbing codes require caulking around a toilet. However, these codes are only enforced sometimes because of the ongoing debate about whether or not caulking is necessary.
Those against caulking say the toilet’s wax ring is enough to keep the toilet from jarring loose, while those for it say the wax ring is not enough and that there should be that safety net to keep the toilet from rocking.
Can You Caulk Before Installing a Toilet?
You can, and many plumbers will tell you that doing so will get you a better seal. It is certainly harder, for you will have to be pretty precise with the caulk to make sure the toilet fits properly in the seal. However, you can do it either way, and it should work just fine.
Is There a Difference Between White and Clear Caulk?
In terms of application, no. Clear and white caulk operate the same but are simply made differently to blend into different bathroom floors better. It is all a matter of personal preference whether you use clear or white caulk.
Wrap-Up
There you have the ins and outs of caulking around a toilet. The job itself is pretty common and easy to do with some careful application and the right tools on hand.
The debate on whether caulking should be required is still ongoing, and in the end, it is up to you to pick the side you think is right. In some cases, it is necessary, while it could do more harm than good in others.
Be sure to follow the steps in the how-to guide above as closely as possible when doing this job as it requires a considerable amount of precision and can get messy very quickly if done wrong. Refer to the mistakes listed above to avoid making this process harder than it needs to be.
Other than that, good luck with the task, and hopefully now you have all the knowledge you need!